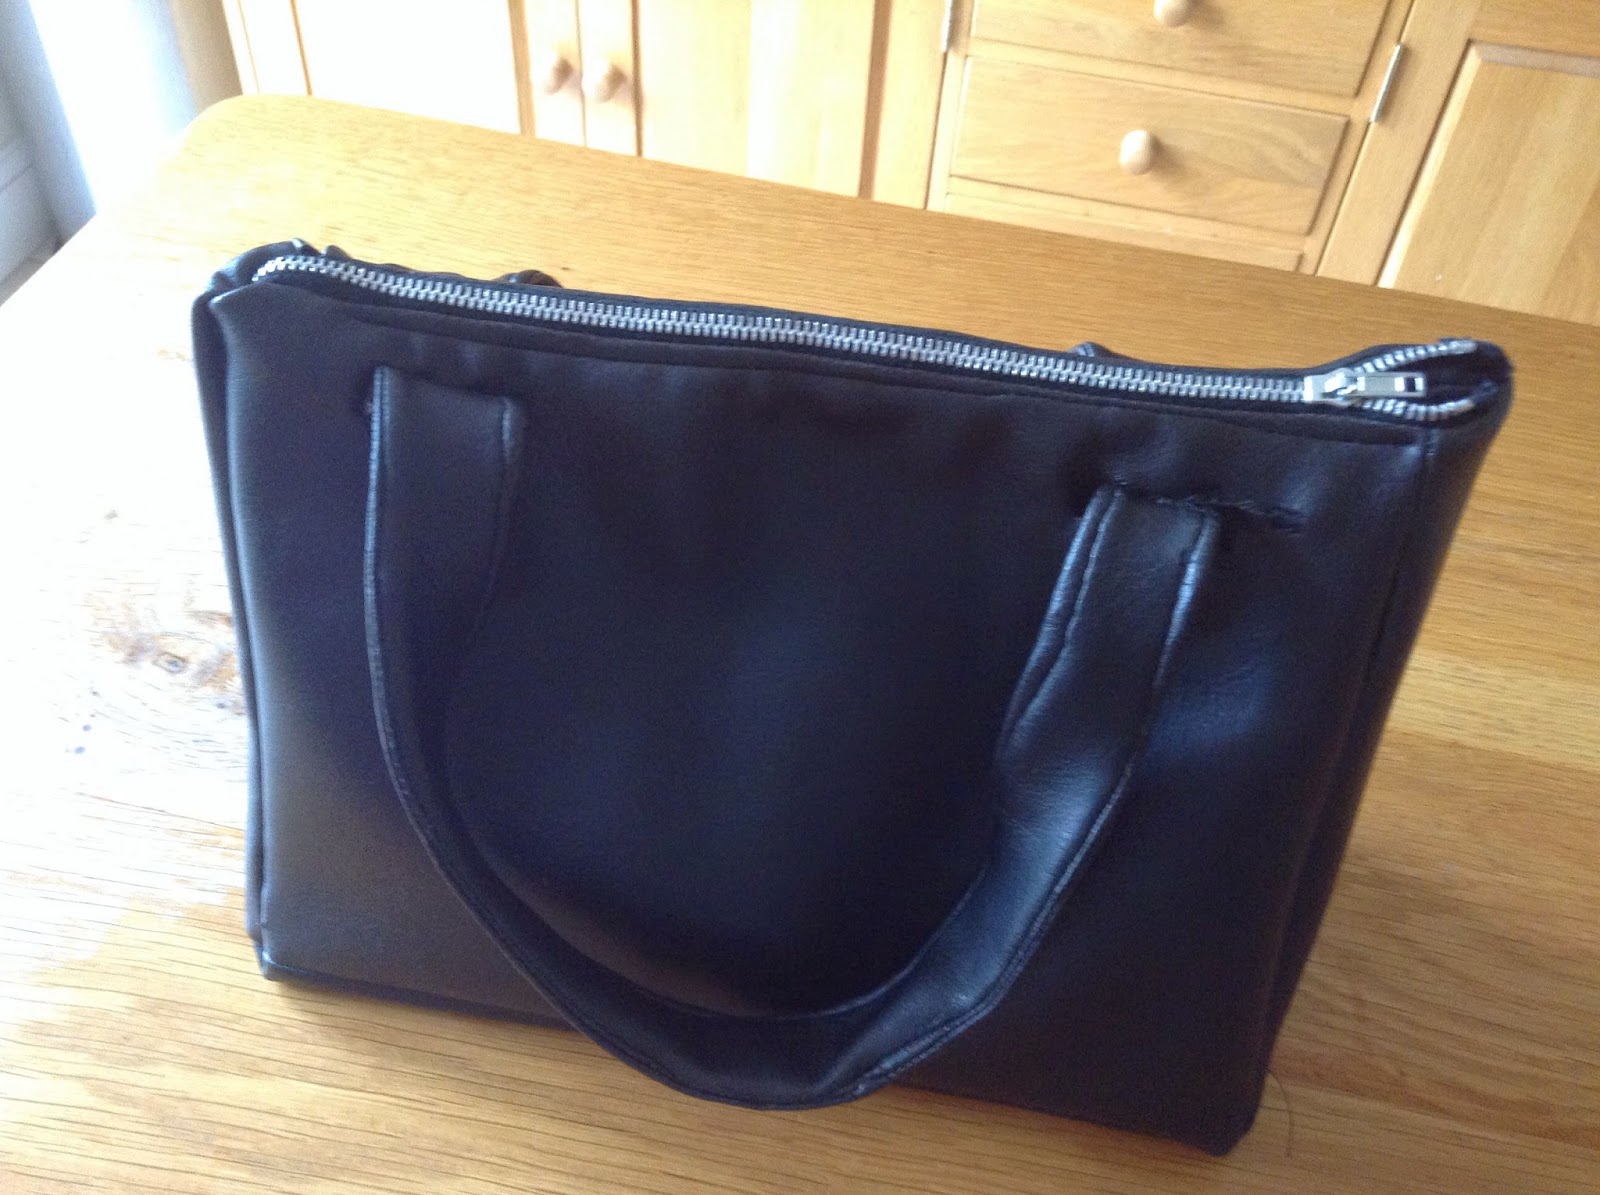
I used:
- leatherette fabric
- lining fabric; I used black cotton sheeting
- old zip cut off of some clothes
- thread and the usual stuff
- cardboard
Method:
This was actually surprisingly difficult to make. The leatherette was slippery and tricky to work with, and I did not have the right machine foot. Ideally I would use a synthetic foot to sew this kind of fabric, but I do not own one and they are fairly expensive. Therefore I had to make do, and although it is not perfect, for my first attempt at anything like this I am fairly happy.
The bag consists of two sides, two ends, and a base, with handles at the top. The lining is the same as the bag, without the handles, but is inside out so that the wrong side is sewn onto the wrong side of the leatherette. I attached the handles/straps by cutting small slits in the leatherette and threading the handle through, then sewing in place by machine. Then I sewed again 1cm up to secure it. This fabric is fairly old, having bought it 5 years ago for a project, so is beginning to age as it was not very expensive. Therefore in places where the leatherette has torn I superglued some red satin on the inside behind the holes so that if you can see through then it would look deliberate.
I also superglued some cardboard to the base of the bag, on the inside, to give it shape and make it more stable.
The zip was put in like a normal zip, then the lining was slip stitched to the zip. I had to be really careful that the lining was not sewn too close to the zip because then it would catch and would be a real pain every time I used it.
All in all, while the bag does not look particularly complicated it was harder than I thought it would be, and there are definitely things that I would change if I were to do it again.